Artificial intelligence is no longer limited to powerful cloud servers. With recent advances in lightweight language models, running AI chatbot locally on a Raspberry Pi has become a practical and exciting option for developers, hobbyists, and privacy focused users.
If you want full control over your data, lower latency, and a self hosted assistant that works even without internet access, this guide will walk you through everything you need to know. From hardware requirements to optimization tips, you will learn how to build a reliable local AI chatbot setup on a Raspberry Pi in 2026.
Running AI Chatbot Locally on a Raspberry Pi: Setup, Tools, and Best Practices
Why Running AI Chatbot Locally on a Raspberry Pi Makes Sense
Before diving into setup steps, it is important to understand why running AI chatbot locally on a Raspberry Pi is gaining popularity. The main driver is privacy. When you process conversations locally, no data is sent to external APIs or third party cloud providers.
For businesses handling sensitive information, this is a significant advantage. Internal knowledge bases, support conversations, and operational queries can remain fully on premise. Even for individuals, local deployment prevents accidental data exposure.
Another major benefit is cost control. Cloud based AI services often charge per token or request. Over time, heavy usage can become expensive. A Raspberry Pi powered chatbot eliminates recurring API costs after the initial hardware investment.
Latency is also improved in many cases. Since inference runs on your own device, you avoid network round trips. This is especially useful for home automation systems, robotics projects, and offline environments.
Finally, running AI chatbot locally on a Raspberry Pi provides unmatched flexibility. You can fine tune models, connect them to local databases, and integrate them with IoT systems without vendor limitations.
Hardware and Software Requirements for Running AI Chatbot Locally on a Raspberry Pi
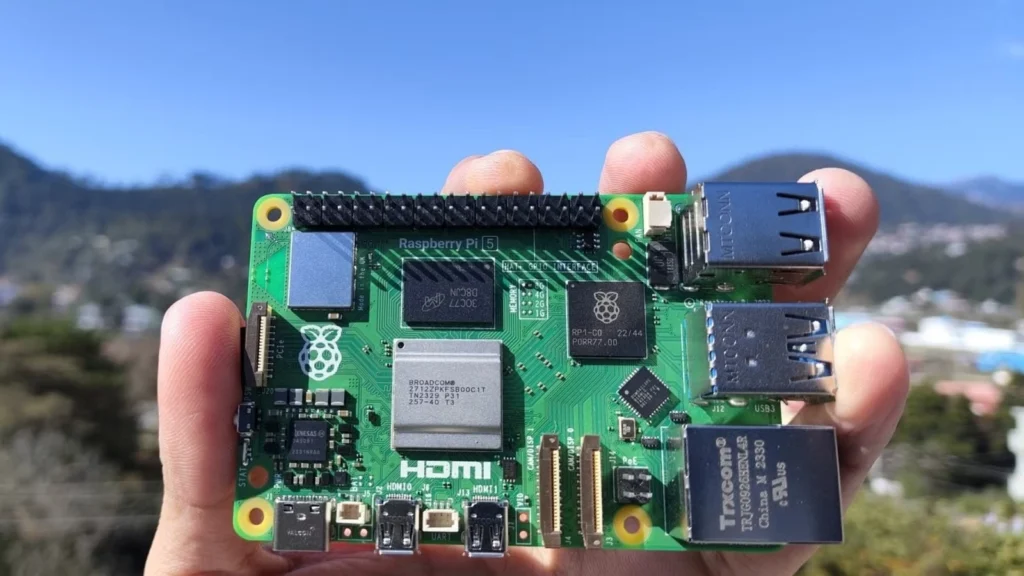
Not every Raspberry Pi model is suitable for AI workloads. For optimal performance, the Raspberry Pi 5 with 8GB RAM is strongly recommended. The improved CPU and memory bandwidth make a noticeable difference when running quantized language models.
At a minimum, you should have:
- Raspberry Pi 5 with 8GB RAM
- High speed microSD card or external SSD
- Active cooling solution
- Stable power supply
An external SSD connected via USB 3.0 significantly improves read and write performance. This is particularly useful when loading large model files, which can exceed several gigabytes even after quantization.
On the software side, Raspberry Pi OS 64 bit is recommended. A 64 bit operating system allows better memory handling and compatibility with modern AI libraries. After installing the OS, ensure your system is fully updated using standard package management commands.
For the AI framework itself, lightweight inference engines such as llama.cpp are commonly used. These tools support highly optimized, quantized models that can run efficiently on ARM processors.
Step by Step Setup for Running AI Chatbot Locally on a Raspberry Pi
The process of running AI chatbot locally on a Raspberry Pi can be broken into clear, manageable steps. Following a structured approach reduces errors and improves performance.
Step 1: Prepare the Operating System. Install Raspberry Pi OS 64 bit and enable SSH if you plan to manage the device remotely. Update all packages and configure swap space if needed to support memory intensive tasks.
Step 2: Install Required Dependencies. Install build tools, Python 3, and necessary libraries. If you plan to use llama.cpp, clone the repository and compile it with ARM optimized flags. This ensures maximum performance from the Raspberry Pi CPU.
Step 3: Download a Quantized Model. Choose a small language model such as a 3B or 7B parameter model in GGUF format. Quantized versions like Q4 or Q5 dramatically reduce memory usage while maintaining acceptable response quality.
Step 4: Test Local Inference. Run the model directly in the terminal to confirm it loads correctly. Monitor CPU temperature and memory usage during this stage. If performance is unstable, consider lowering context size or using a more aggressive quantization level.
Step 5: Build a Chat Interface. You can create a simple web interface using Flask or FastAPI. This allows you to access your chatbot from other devices on your local network. For more advanced setups, integrate with Home Assistant, Node RED, or a custom dashboard.
By following these steps, running AI chatbot locally on a Raspberry Pi becomes a structured and achievable project rather than an overwhelming technical challenge.
Optimizing Performance and Stability on Limited Hardware
One of the biggest challenges when running AI chatbot locally on a Raspberry Pi is hardware limitation. Unlike desktop GPUs, the Pi relies entirely on CPU processing. Therefore, optimization is critical.
First, always use quantized models. Quantization reduces model size and memory requirements by representing weights with lower precision. For example, a 7B model in Q4 format can often run within 6GB to 7GB of RAM.
Second, adjust the context window size. A smaller context window reduces memory usage and speeds up inference. While this limits how much conversation history the model can retain, it significantly improves responsiveness.
Thermal management is equally important. Continuous inference can push CPU temperatures above safe limits. An active cooling fan or heat sink prevents thermal throttling and maintains stable performance.
You should also consider limiting concurrent requests. A Raspberry Pi is not designed to handle multiple heavy inference sessions at once. Implementing a request queue ensures the chatbot remains responsive under load.
Finally, schedule regular system monitoring. Tools that track CPU load, memory usage, and temperature help identify bottlenecks early. With proper tuning, running AI chatbot locally on a Raspberry Pi can deliver surprisingly smooth performance for personal and small scale applications.
Real World Use Cases and Integration Ideas
Running AI chatbot locally on a Raspberry Pi is not just a technical experiment. It has practical, real world applications across different industries and home setups.
In smart homes, a local chatbot can act as a voice enabled assistant that processes commands without sending data to external servers. This is ideal for users who value privacy and want full control over their automation systems.
In educational environments, students can learn about AI deployment, model optimization, and edge computing. Because the entire system runs locally, it provides hands on experience without requiring expensive cloud credits.
Small businesses can deploy an internal knowledge assistant connected to local documents. For example, a Raspberry Pi chatbot can answer questions about inventory, procedures, or internal documentation without exposing data to outside services.
Developers can also use this setup as a testing ground. Before deploying to production servers, experimenting with prompts, embeddings, and retrieval systems locally reduces risk and cost.
Moreover, combining running AI chatbot locally on a Raspberry Pi with vector databases like lightweight embedded stores enables retrieval augmented generation. This allows the chatbot to reference specific documents while still operating entirely on local infrastructure.
Conclusion
Running AI chatbot locally on a Raspberry Pi is no longer a niche experiment. With modern quantized models and optimized inference engines, it is a realistic solution for privacy focused users, educators, and developers seeking full control over their AI systems.
By choosing the right hardware, optimizing performance, and following a structured setup process, you can build a powerful local assistant that works on your terms. Start your Raspberry Pi project today and experience the benefits of running AI chatbot locally on your own device.